Category Archives: Homemade Toys

Homemade Race Car Costume

Last year J was set on being a race car driver for Halloween.  Give me a quick and easy store-bought costume anyday.  So I happened on a great race car driver costume at the Disney Store (the link shows the 2011 version) and called Halloween-prep completed. In the back of my mind, I kept thinking he needed a race car to go with his outfit.  Fast-forward to October 30th about 8 pm.  My parents were visiting and my mom agreed.  He needed a race car.

That night we ended up crafting a Lightning McQueen race car out of a diaper box, wrapping paper and a few craft supplies I had around the house.  Our finished product turned out so cute!  J loved it.  In my non-biased opinion, he was the cutest trick-or-treater around!

How to:  It was so quickly crafted (and so long ago), I don’t remember details.  Lots of folding and refolding cardboard (the hard part), taping and retaping! We wrapped a diaper box in metallic red wrapping paper (it was actually Christmas paper but you can’t tell), added some foam tires, construction paper eyes and decals (the letters are foam stickers).  A little a lot of tape and glue and you have the perfect race car for a Lightning McQueen fan.  Using duct tape, we attached Christmas ribbon to act as suspenders so that J could wear his car for trick-or-treating.

This year…. J’s again adamant that he is a race car driver and wants the SAME EXACT costume.  Part of me says, “That’s not much fun!” and the other part sighs with relief.  No work needed this year!

Button Snakes

Back when I was pregnant, I put together a basket of go-to activities that I could quickly pull from to keep J focused when I was busy with his little brother.  When I saw the button snake here, I knew I wanted to include it.

It was so easy to make, taking maybe 5 minutes, even with my sad skills using a needle and thread.

You need: colorful felt, scissors, ribbon, a button, needle and thread

What you do: 

  1. Cut the felt into squares (or fun shapes)
  2. Cut a small slit into each square (to fit your button)
  3. Sew one felt square near the end of your ribbon
  4. Sew a button onto the other end of your ribbon
  5. Your done!

    This was great practice for J.  He had really never tried button until this.  I made a beginner level button snake (using an extra large button) but was surprised at how quickly he caught on.

I recently made another button snake with a smaller button to increase the difficulty.  This time I cut the felt pieces into different shapes so that the pieces could also be used to sort or create various patterns as he builds the snake.

We’ve also used this activity in our airplane travel and it works great, lightweight and keeps him occupied.

Homemade Water Table

This is something I wrote on our family blog from last summer.  It’s a great alternative to spending money on a store-bought water table.  J’s is still just as entertained this year at 3 years old as last!
 
We’re still playing with water almost every time we head outside.  I noticed that they sell water tables at all the stores but thought it was a little ridiculous to spend good money on a glorified bucket!  So we made our own water table with what we had. All it required was pulling out a flat storage box (luckily it was just lying there empty under my bed) and J’s wagon.  It’s a perfect fit!  He loves it.  And when there’s no shade, I just wheel the wagon into the garage.
I found that sand/water wheel last summer on clearance for $2.  He played with it in the tub until this summer’s homemade water table. 
Here he is trying to pour water into a dropper.  Smart boy! Pouring is easier than manipulating the dropper to fill it up.  Too bad the experiment wasn’t so successful.
He loves blowing bubbles
Pouring is much easier with a funnel!
I made some blue ice cubes that he liked scooping into the tub, stirring them, letting them melt in his hand, watching the water turn blue, and then refilling the tray to make more ice.
 

Sally’s Cozy Cone Motel

I bought a set of orange cones last Spring in Target for $1 or $2.50 (by the way, I saw the same set in the store this morning).  We’ve used them both outside and inside for obstacle courses or even as an easy way to tell J how far he’s allowed to go down the sidewalk. 

This winter, I cut doors into each cone and created Sally’s Cozy Cone Motel (from the Disney movie, Cars).  How easy is that!  J loves the movie and knew exactly what they were.  He’ll often want to put his cars to sleep at night in their Cozy Cone.  A simple change to an old toy to bring it to life again and add to a toddler’s pretend play!  We can even still use the cones for their normal uses. 

I think this would be a fun addition to a homemade highway.  We might just have to break out the painter’s tape again!

Homemade Toy: Audio Books

When I was little my grandmother used to record stories on tape for us.  We still have some of them!  She also sent some to my cousins who were overseas at the time.  I think this is an awesome gift for little ones that live far away.  They get to hear your voice on a consistent basis, acting out your love from thousands of miles away by reading stories to them!

A few years ago I took the same concept and made a set of books on CD for my nephews (age 2 and 3 at the time).  I chose some favorite books from childhood and recorded myself (and my husband) reading them using my computer. 

I used a free recording software called Audacity.  It worked well.  Their software was easy to use and easy to edit.  I later went in and added a little chime sound for when the page should be turned.  The software made it easy to dub the chime to my saved recording.  Just Google “free sound effects” to find a wide array of choices.  Finally I burned all the stories onto a cd, made a cute little cover for it and packaged cd and books together for my nephews. 

We also recorded some fun family stories and songs and I added a few stories from my grandma and grandpa (using the tapes they gave us as kids).  

I should add that I am not a technological expert by any means.  I have trouble with Facebook! 🙂  I guarantee that if I could do this, anyone could. 

It really wasn’t a difficult project to complete and I think it’s a great gift.  I recently burned all those same stories onto a cd for J so it’s become a gift that keeps on giving!  It’s been great to use on road trips and plane trips.  It also works great while cooking dinner.

If you’re still deciding on a Christmas gift for a little one in your family, you should try this out! 

Age attempted: 2 and 3 (for nephews and for J)

Homemade Gifts for Christmas

We’ve all probably seen little ones busy at play on Christmas morning, usually with an empty box or crumpled tissue paper, while the $30 gift sits alone in the corner.  Especially when they’re young. there’s no need to break a budget for Christmas.  Here’s some of J’s best homemade toys and games from birth to his current 2.5 years.  None of these are difficult to make and they have all provided him with a TON of playtime and learning time.  If you’re looking for a little something extra to include under the tree for your little ones, these just might work!  Include just one homemade gift or put together an entire busy box like these.

Baby & Pre-Toddler (6-18 months)

Family Board Books

Family Photo Cards

Texture Cards

Pipe Cleaner in a Bottle

Color Cards

Egg Cartons

Early Toddler (18-24 months)

Pipe Cleaners in a Bottle

Egg Cartons

Pushing Puff Balls

Sponge Jewelry (aka Stringing Sponges)

Mailman

Matching Boards or this

Toddler (2-3 years)

Magnetic Pompoms

Geoboards

Thomas Puzzle

Color (and Number) Wheel

You can also check out the category link Homemade Toys or Homemade Games for other suggestions. 

And remember, they don’t need fancy.  In fact at this age, they will most likely not notice at all if you spent tons of time making the homemade toys “cute”.  At these ages, they’re all about function and entertainment!

Homemade Toy: Magnetic Pompoms

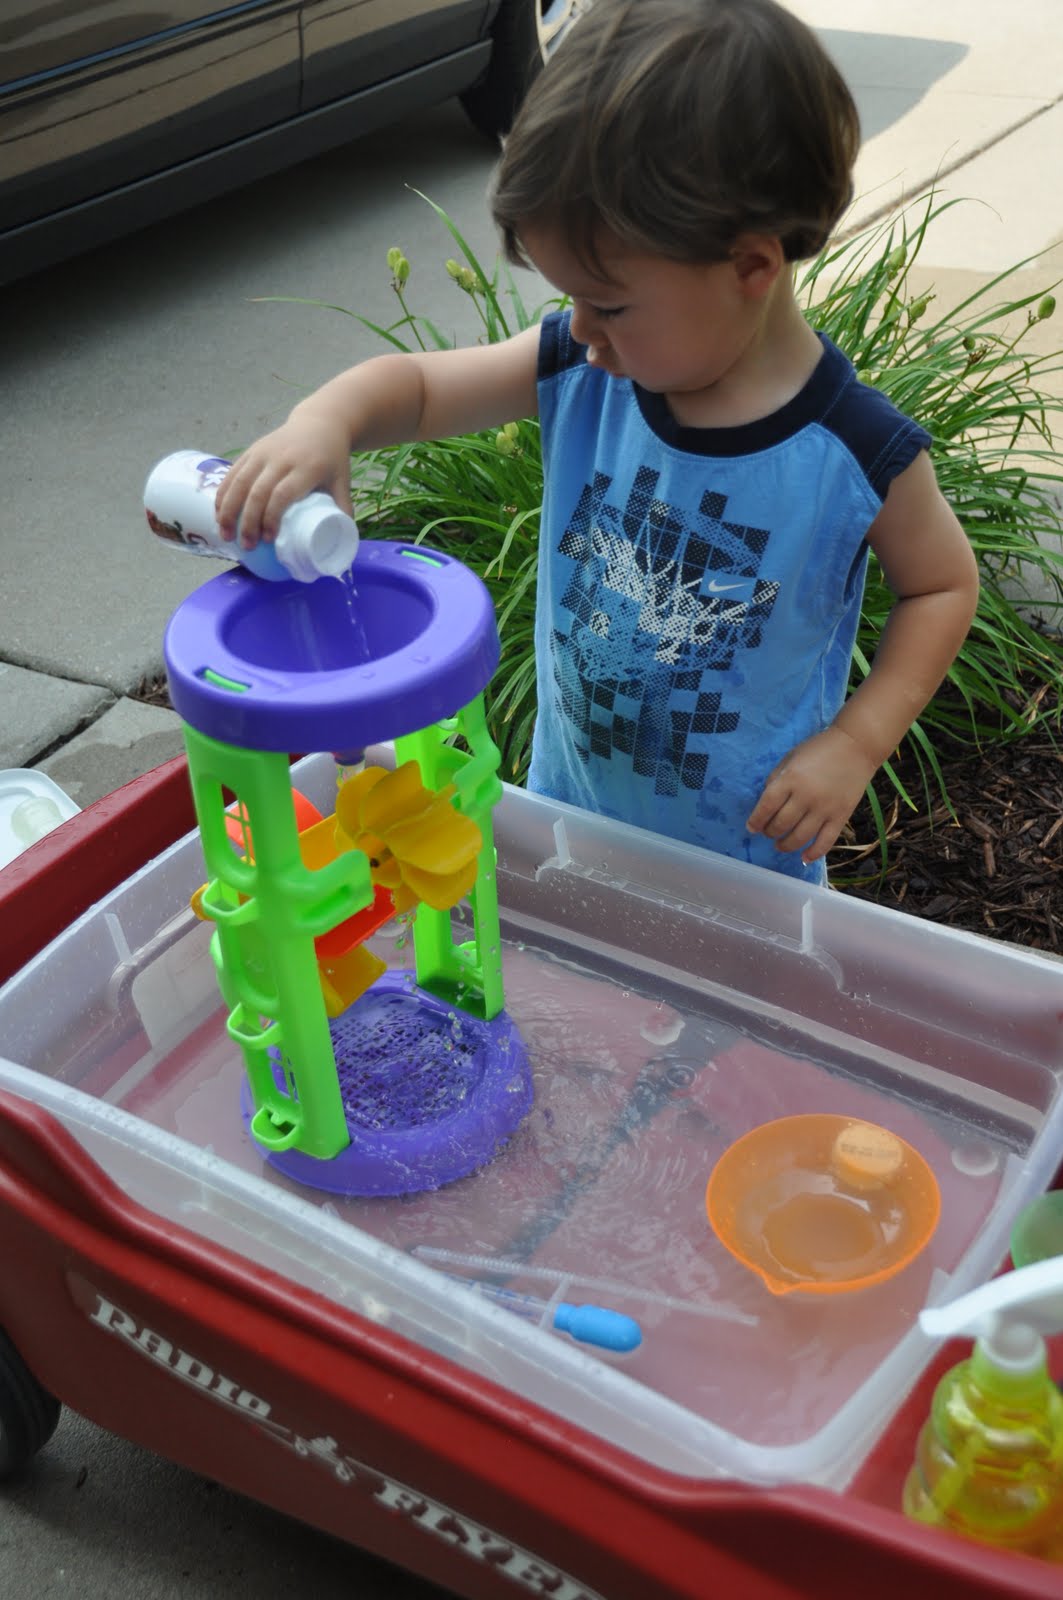
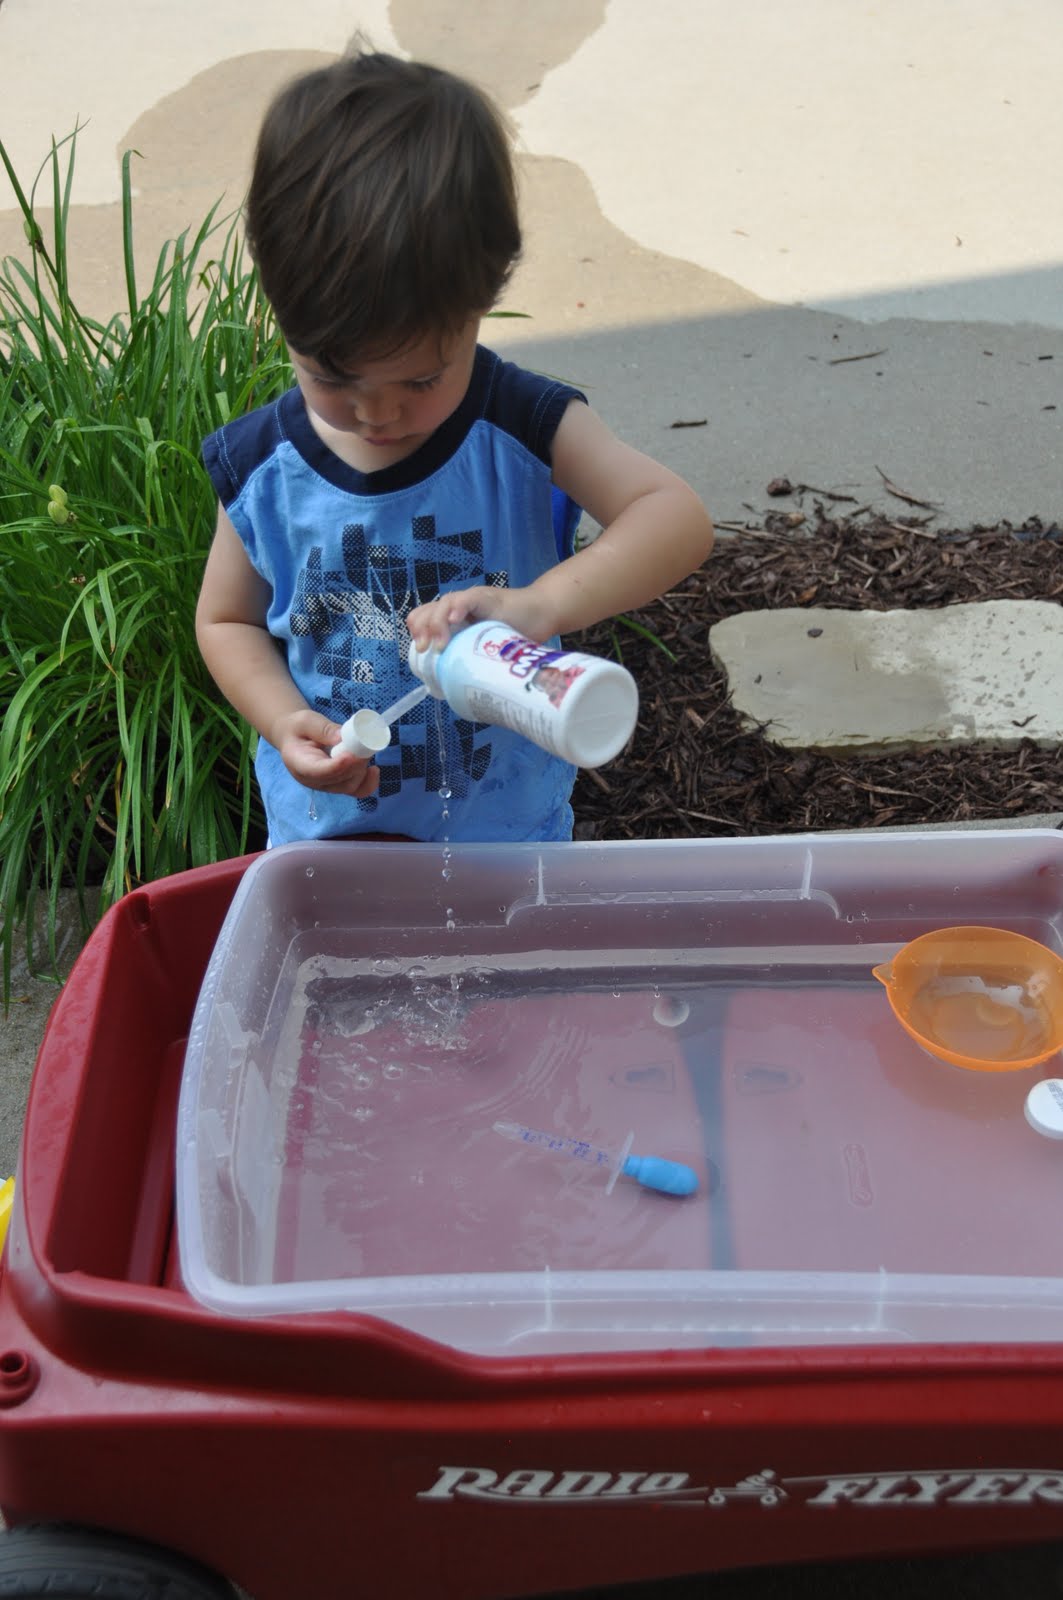
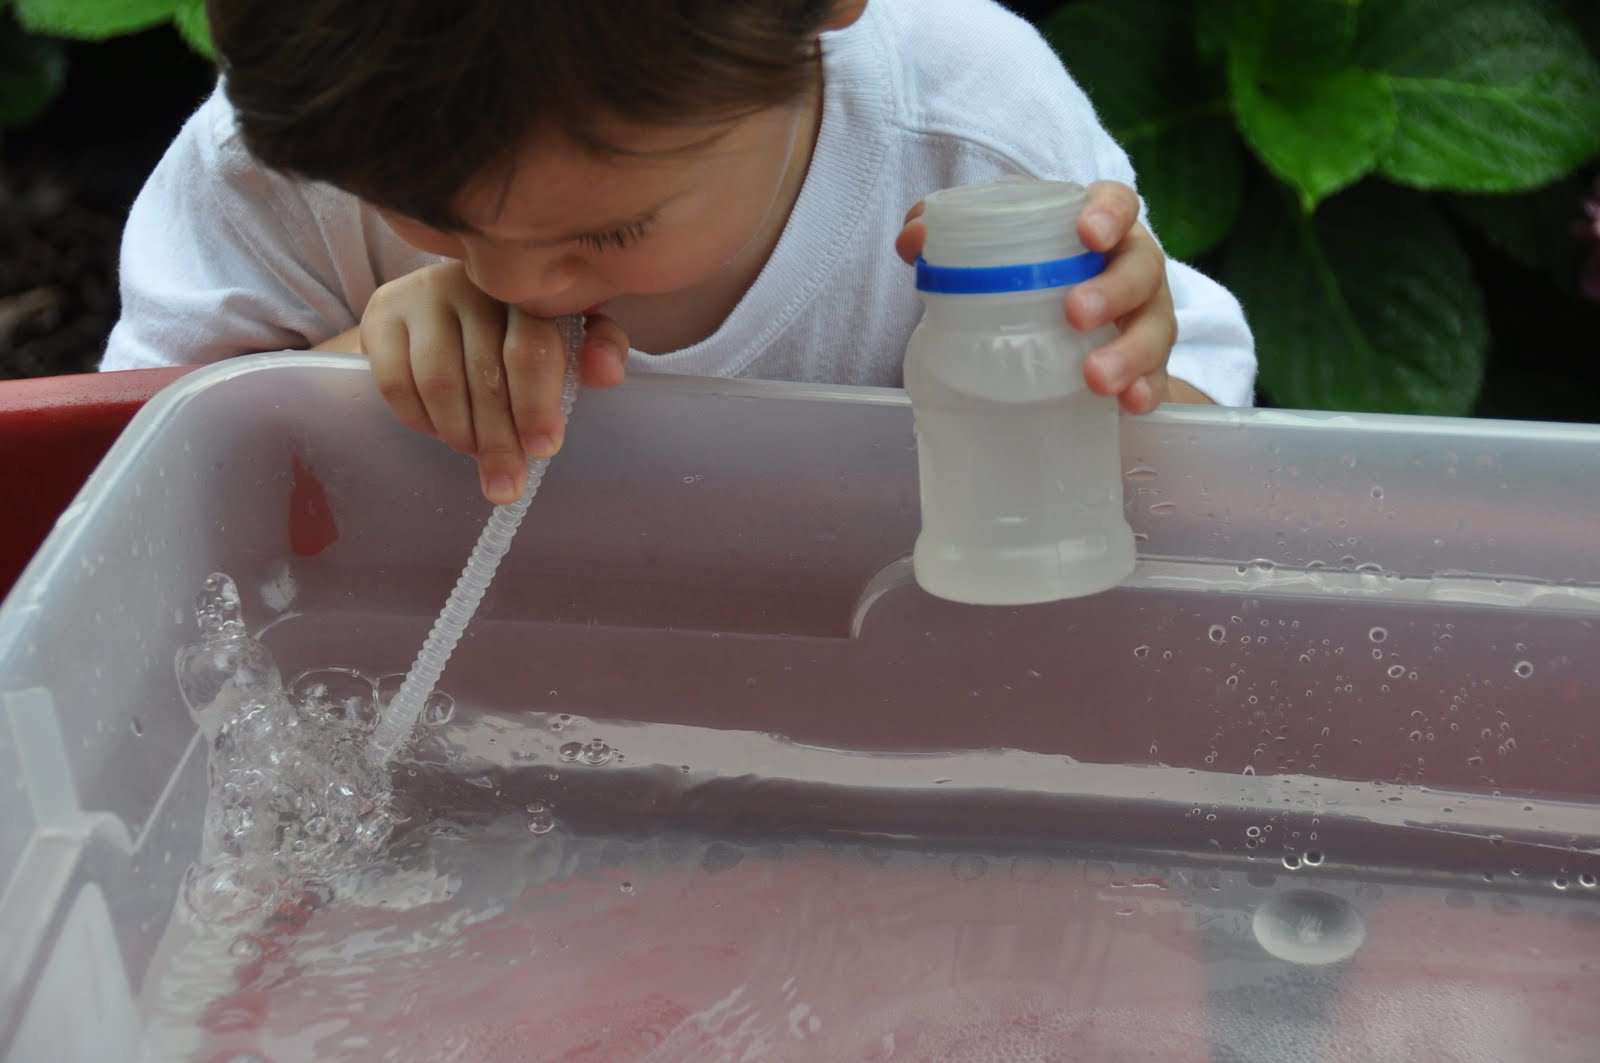
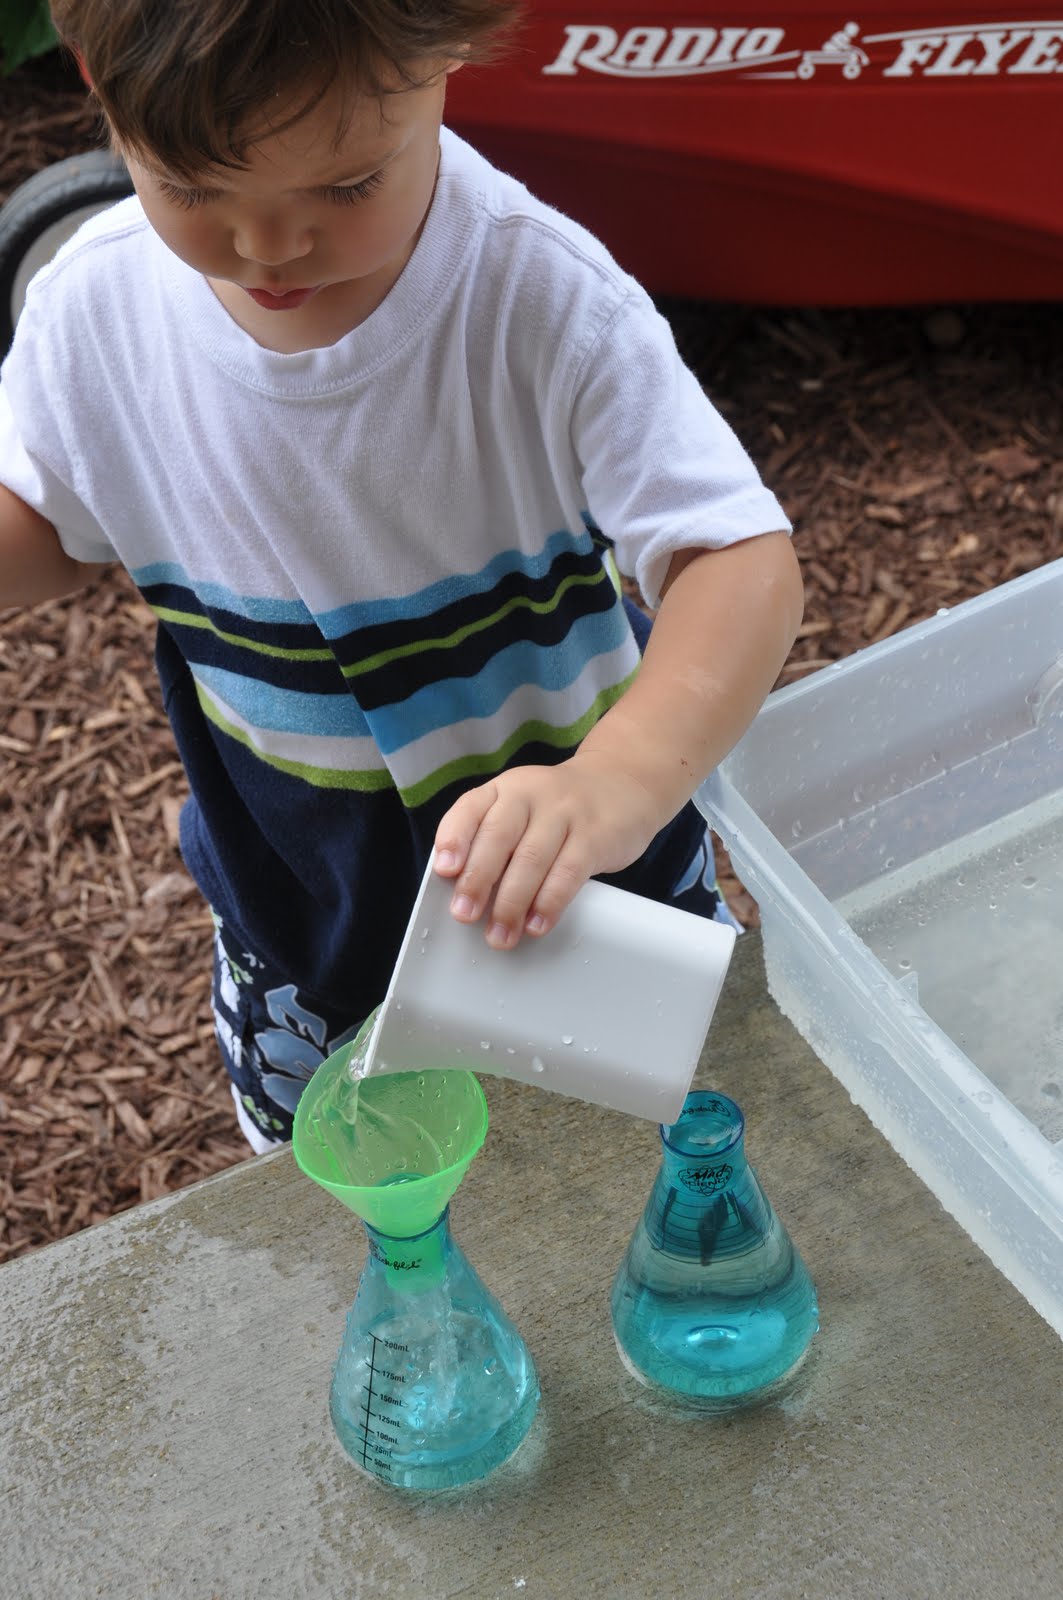
When I was writing the Apple Picking post, I realized I never actually introduced our magnetic pompoms.  This has been a great homemade toy for J.  I saw it multiple places online when J was much younger and just waited until I was confident he would be safe with the small magnets.  We’ve never had one fall off, but you never know. I wouldn’t leave little ones alone with this toy until you were 100% confident they wouldn’t try a taste test.

This is a great addition to a busy box gift for older toddlers/preschoolers.  Include the pompoms, a small cookie sheet (found at dollar stores) and some blank templates and/or patterns to follow.  A great and unique toy on a budget. It would even be a good homemade Christmas gift.

To Make: All you do is hot glue magnets onto the back of pompom balls.  Use the free magnets you get in the mail to save money or buy roll of magnets from the craft store.  You won’t need an entire roll, so it can be used for other things as well.  Be sure to include a variety of color pompoms and a large number of each color.  The more you have, the more your little one can create.  You can also use multiple sizes of pompoms if you want (I’ve only made one size).  Add a cookie sheet and you have a great toy.   Something about pompoms intrigues kids.

1. They can design pictures freely. 

No my toddler did not create this picture 🙂  This is one I made for him as he called out things to create.  I forgot to snap pictures of his creations, though he makes a pretty good sun!

This homemade toy can be as simple as this and it will be worth the effort.

2. Black and white templates can be printed for them to fill in creatively.

I made this blank pompom template  for J to use.  You can also check out the links at the bottom of this post for sites I’ve found with printables.

3. Color printouts encourage them to match the correct colors.

 Here he is matching the pompoms to the corresponding colored circle in the gumball machine.  This type of activity is especially good for younger toddlers that are still working on their colors and fine motor skills.

It’s really easy to create your own, just copy and paste from Google images and add some colorful circles.

4. Patterns, sorting, counting, and colors

  I started the patterns and he found the right pompoms to continue it.  You could also show them a picture of a pattern and ask them to copy it on their own.  Preschoolers could work on much more intricate patterns or designs.

This shows some color sorting as well as our intro to bar graphs where he compared the different bars to decide which had the most/the least, which were equal,…  We finished by counting each bar to see we were right.

6. Shapes, Location

 As of now we create them together, he copies my examples (or tries to),  or he gives me instructions on what to create and where (good directional practice for them).

For older ones you can give them instructions to create a certain color/size shape, include location of the shape to increase the difficulty (ex: make a purple triangle inside the circle).

6. Letters and Numbers  

Have your little one trace letters and numbers or “write” them on their own using the pompoms.  You can draw large block letters or numbers for them to fill in with the pompoms.  They can match the correct number of pompoms next to the correct number.  Or check out the list of online templates I found. 

I’ve seen activity books for Dot Markers that would work well with magnetic pompoms.  Of course any of the templates for magnetic pompoms could also be used with Dot Markers or circles stickers too.

Other Printable Templates: 

Shapes  and Colors (from Home Grown Hearts)

Number cards (from 1+1+1=1)

Numbers (from Making Learning Fun)

Upper Case Letters and Lower Case letters (from Making Learning Fun)

B&W Pictures (From Making Learning Fun)

Color Pictures (From Making Learning Fun)

(For the Making Learning Fun templates, I had to copy the templates and paste it onto ppt to expand each picture.  When I printed these straight from the website, the circles were much smaller than I wanted.)

If you find any other great templates let me know and I’ll add them to the list!

Patterns for Homemade Geoboards

In lieu of Christmas soon arriving, I thought I would introduce/reintroduce some of the great homemade toys that we have around our house.  Homemade toys are perfect for little ones!  Why spend tons of money on things you can make easily?

Remember this Homemade Geoboard post?  J still enjoys it today.  I recently put one together for his older cousin and included some example patterns with the board.  I took example photos of shapes, patterns, letters, numbers and pictures on the geoboard for him to replicate.  For even older ones, you could simply include a list of things to create and leave off the pictures.  That would add a level of difficulty. 

I think this would made a great homemade Christmas gift!

Homemade Toy: Thomas Puzzle

J absolutely loves puzzles.  He also adores anything Thomas!  I LOVE a bargain, so this homemade toy is perfect for both of us.  My goal was to create a Thomas counting puzzle.  I tried finding one to buy and only found a wooden puzzle for $10.  It wasn’t exactly what I was hoping for, and the price was nowhere NEAR what I was hoping for.  So I made a Thomas counting puzzle myself.

I searched online for images of all the different Thomas trains, hoping to find #1-20.  This was the longest part of the process.  It turns out they aren’t so easy to find which I found odd  considering their popularity.  I also could never find number 13, perhaps they’re superstious and left that one off? **If anyone DOES know of a #13 train, please let me know. **   Our puzzle stops at 12 for now, but I can easily add on to it in the future.

If this works, here’s the link for the pdf I made with all the pictures. Thomas puzzle

The puzzle is meant to be in one long line, I just split it up for the photo

I printed the pictures of each train and glued them (using Mod Podge) onto the back of some small foam puzzle squares I found at the dollar store.  This step took me probably 15 minutes.  I used 2 store-bought puzzless to have enough pieces for trains 1-12. Some of the longer trains take up two puzzle pieces.   

The nice thing is J can also turn the puzzle pieces over and do the store-bought puzzle too.  So 3 puzzles for $2 seems to be a good deal in my book and it was so easy to make!   I think this would be a good homemade Christmas present for toddlers

  Age attempted: 29 months, definitely could be done much earlier

Edited to add: Here’s the list of Thomas trains #1-12.  Since J wants to know their names, I added those on my finished puzzle too.

1 Thomas

2 Edward

3 Henry

4 Gordon

5 James

6 Percy

7 Toby

8 Duck

9 Donald

10 Douglas

11 Oliver

12 Alfie

A Free Matching Toy

I have a box full of different empty containers with their lids.  Each container is a different size or different color.  Some have screw-on lids and some lids pop on and off.  I set them all out in front of J and had him match the lids to the containers.  We talked about the shape of the container and looked for a similary shaped lid and then he practiced placing the lid on the container himself.  He still has trouble with screw-on lids (he keeps wanting to screw them back and forth and of course they’ll never get tight that way!).  You might have seen this post that describes one of J’s chores (that he thinks is a game!).  Whether as a chore or just for fun, this activity is an easy way to keep him busy for awhile and it’s good practice for him too!

Age attempted: 23 months, could be done much earlier though they might need more help with screw-on lids

Teachable moments: size, shape, practice with motor skills when attaching lids